How to Organize Your Pantry Like a Professional

If you’re here you might have seen some amazing kitchen pantries online and thought, “I want that!”. Or maybe you just looked around your pantry and became overwhelmed. I know the feeling. I was just at a friend’s home and she was showing me around. Everything was clutter free and I was so relaxed. My stress melted away. Just like that feeling from a very luxurious hotel room.
But you have a busy life and a lot of stuff. Do people actually live like this and maintain it? Yes, I’m sad to say some of us do live and maintain extremely organized homes and kitchen pantries. So I sat down my unbelievably organized friends. The kind that you can pop over any time without notice and find a beautiful organized kitchen pantry. And I picked their brain for you.
For the sake of this post, when I say kitchen pantry I’m referring to anywhere you store appliances, cooking utensils, food, etc. So technically this could also be called how to professionally organize your kitchen.
Submitted for your approval…8 steps to Organize Your Pantry Like a Professional.
How To Organize Your Pantry Like a Professional Step-By-Step Guide
1. Clean Your Pantry Out
This is the obvious first step. I would love to say you can do this once and never have to do it again, but that’s just not true. Being half Persian we have a holiday called Nooruz. This is where you are supposed to take EVERYTHING our of your house, toss what you don’t need/want/use/love and clean it, then bring it back in your home. That’s probably where spring cleaning came from, but who knows. (somebody knows, but not me)
I’m not telling you to do anything that drastic. Just do it to your pantry and kitchen cabinets were you store food, utensils, and appliances. Remove everything, clean the pantry itself, and start tossing and decluttering.
Plan to do this at least once a year unless you are extra organized. Even so a nice wipe down would still be recommend.
2. Organize Items into Like and By Use
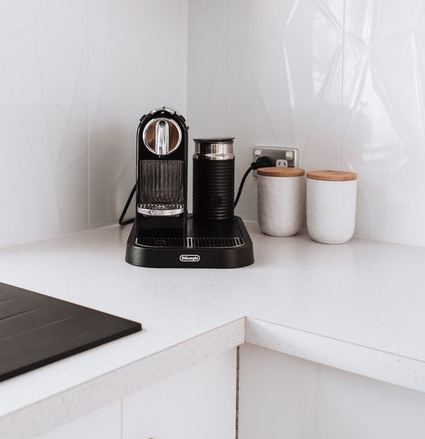
Now you’re going to want to look at everything you have and how you use it. If you make coffee or tea a lot keep them together in a set pile. However, if you only drink tea and two specific types, organize the ones you use a lot together and find another pile for the less used varieties. For example I always drink matcha, chamomile, ginger, detox tea almost daily, so I would keep them organized by my hot water kettle. My other teas are more for guests, dinner parties, or weekend brunch. Those I will organize in a tea spot in the cabinets. Hence, two different piles.
Another example would be if you bake a lot. Make a pile with all the baking dry ingredients and all the baking tools and appliances.
When it comes to cooking utensils, I want you to be extra picky about what you keep. Avoid doubles, ones you never reach for, and simply by putting everything into like piles you will notice if you have too many of anything. This is very common. If we cannot find something due to poor organization we are bound to repurchase.
Deciding What to Keep or Toss
Keep
- You use it at least once every 2 weeks
- Something else you have won't do its job. And you use it regularly
- You only use it for parties and holidays, but you ALWAYS use it for parties and holidays
- It's beautiful and everyone compliments it and you also love it
- It makes you happy and you love it
- You should use it and you do regularly
- It's incredibly important to another household member and you cannot replace with something you can both agree on
Toss
- You're keeping it just incase
- Someone gave it to you, but you don't want it/likeit/need it/use it enough
- You used to like it, but haven't gone for it in a while
- It's healthy, but to be honest you don't use it
- It was expensive
- It's broken/dirty/stained/not something you enjoy having around
- It's expired or you know you won't use it before it expires
- You would rather buy a newer one that fits with your current style
- It's big and heavy so you hardly use it because it's too much trouble
- You have something else/something smaller/something better you can use instead of this item
- It's plastic and you would feel safer using a product in another material
3. Clean Everything You're Keeping
No sense in having an organized pantry if you fill it with dusty, oily, or stained stuff. This is an important step, so don’t skip it.
4. Time to Measure Everything!
So now we have reached the most important step. The one so many of us, including myself, would get all wrong.
I admit I would have already bought tons of containers, bins, etc. long before I got near this step. That was my biggest mistake.
Now you have everything organized into like piles, and you need to measure and decide how big a container and what type to use for each section. Then you have to measure the space you want to put it into and know your limits. Make a choice and repeat for every section of items you have.
You will have to go back and forth a few times. Maybe you have 3 sets of items you want in the same cabinet. You will need to use your measurement and Tetris skills to make it fit. That may mean moving items to another set or choosing another spot for one or more of the sets.
I’m not going to sugar coat this step. This is going to be hard. But this is by far the most important step, the one you must not skimp on.
If you get frustrated and tired, take a break. Leave it out and tackle in tomorrow or even in a few days. This is worth the effort. I believe in you!
5. Choosing the Perfect Storage

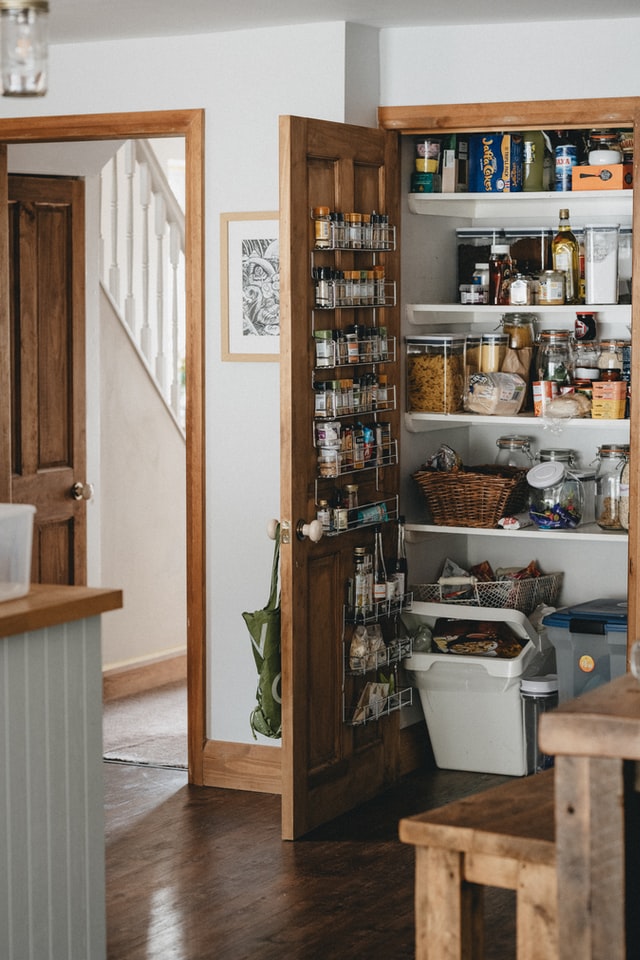
Now this isn’t the most organized pantry, but it’s more organized than average. Notice that the different size and types of jars along with the colors of the items in the jars make it not a calming and organized space.
Even if you go full Kardashian and organize the inside contents of ever jar, it’s still going to be too much different colors.
This is why I”m a huge fan of solid color storage with all the same labels.
My all time favorite tip is to forget about emptying products into containers.
You can do that with a few items, but that creates a barrier to putting things aways. Making it harder on your self and harder to keep up.
Instead have non-transparent bins or containers and label them. Put the entire product in there, packaging and all.
Any type of product even ones you wouldn’t think to store in a container can be put into one.
 As an example, consider 2 decorative large canisters. Beautiful on the kitchen counter. But I’m not a baker. I don’t need flour, sugar, and such in there. But I do use a lot of this certain variety of tea. So boom one is for tea. And for the tea I use a monk fruit squeeze bottle or a honey squeeze bottle. Both can fit into the next canister along with my tinctures that I add to my tea (little glass dropper bottles).
See what I mean? It’t not expected in this type of container, but it totally makes sense for my life.
Forget shape and just focus on if it fits and makes sense to you!
Types of Storage To Consider
I prefer solid color ones to hide the contents. This also makes it easier to slip inside instructions. You don’t have to dump everything into canisters. In fact, keep large canisters that can hold bags and boxes of like products.
Shape doesn’t matter. No ones says you cannot store like bottles in a large canister. Put all your hot sauce bottles in there. There are no rules!
I love solid color plastic bins or wood bins. Not so much fabric bins or other natural materials like wood.
A great way to take advantage of height in a space!
I love a cute tray. Even inside a closed pantry to keep items from falling out or to keep like items together.
Another great way to use height in a space that’s also better for smaller items than a shelf alone.
This means any of those custom to your product storage solutions that are also clear acrylic/plastic.
Think tea bag organizers, drink can organizers, pouch organizer, etc.
You can of course find these in other materials, but unless they are a solid color matching the rest of the pantry color scheme, it will look worse to have an odd color container.
You can also look for those that are white (or whatever your color) and have a clear lid. So it looks more visually pleasing, but you can still see inside.
Drawer dividers or even shelf dividers are available to keep like items together and even to help keep them from falling.
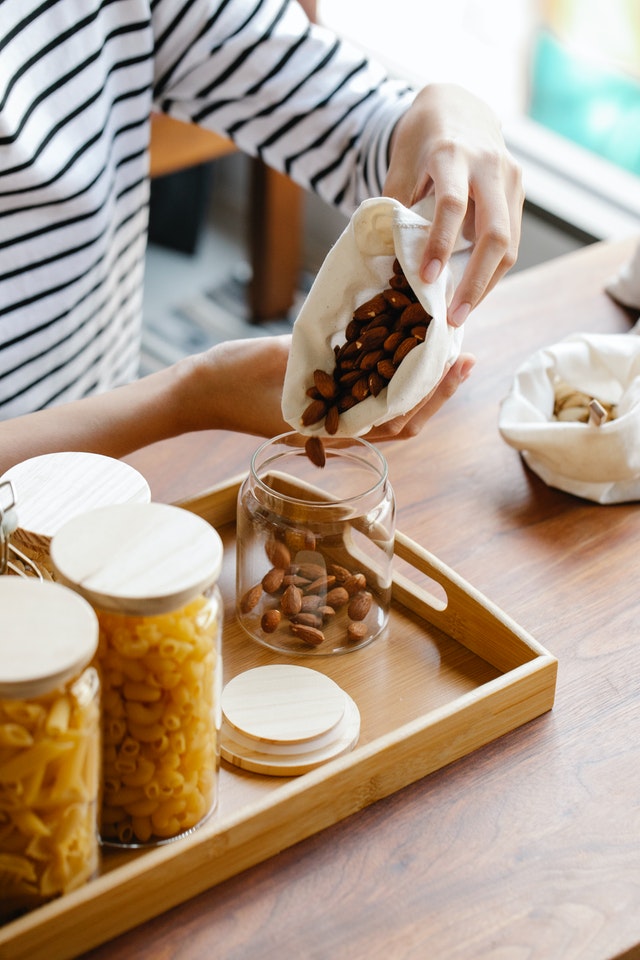
I love a good jar for smaller items and things I need to be airtight. Most so-called airtight containers are just not airtight. It’s frustrating. So when I need to be sure, I go for jars with screw tops.
Mason jars are a good one and an affordable option. I have extra large ones to store my rice.
Hooks and hanging products can be used for extra storage and to keep certain items handy.
But do limit visual clutter by only handing a few beautiful and functional items.
Not so cute items can be hung inside cabinets.

7. Labeling Fun
I prefer easy to read fonts. No fancy scripts for me. But this is where you let your unique style go.
This is the type of label maker I use. I like to change up things too much to buy anything premade or custom. This isn’t the prettiest option, but it works for me.
Here are some fancy premade options:


8. Putting It All Neatly Away
Congratulations! You have made it to the home stretch.
Consider lining any drawers or shelves for easier clean and to protect them from oil, liquid, or other spills.
Extra Kitchen Pantry Organization Tips
- Use alcohol or an appropriate solvant to remove unslightly brand names on products. I did this on my water kettle and mixing bowls for a cleaner look.
- If removing items from their bag or box to put in canisters or containers, cut out the instruction and fold them in the middle so they cannot be seen or tape to the inside bottom of the lid.
- You don't have to empty products into canisters. If they are large enough and the canister isn't see-through you can put anything that fits in there.
- Avoiding see-through containers is more visually appealing and claming. Always remember you can purchase or have custom labels made to always know what's inside.
- Avoid pre-labeled containers. You will never find exactly the same size you need for the item and if you need to replace or add a canister, you won't find it. Make your own labels instead so you can swap canisters easily and avoid the messy look of multiple fonts and styles.
- Plastic airtight containters in my opinion are not a better option for our health, so why use them? Use glass mason jars with screw top lids. You can also buy glass paint and paint them all the same color! Just be sure to paint the outside and not the inside if food will touch it.
- Avoid bugs by making sure items are airtight. A lot of so-called airtight containers are just not. Plus I'm not a fan of always emptying everyting into containters. That's a lot of work. So to save time I use big zip lock bags to put my bag of flour into then put that into a large canister. Something white so you cannot see inside of it, and it still has important inforamtion like lot numbers, expiration dates, and directions. You can do this with all powder types products. Even have one large canister with just different cookies in individual ziplock bags.
- Put spices in one size/type of jar. This is the ultimate tip. I buy bulk spice jars and just use a label maker to label them. How many times are you trying to find a spice, but can't and repurchase only to find it later? Now you know if you cannot find it, for sure you need to clean out the spice area because it is for sure somewhere there. Never have 2 jars of oregano again! Best yet, you can buy spices in bulk for less and refill jars. Just one bin for spice backbar is all you'll need.


